GZbohangzhineng@163.com
+86-18675873677


Bottle blowing lines are built for repeatability, but small shifts in heat, air, water cooling, or Mold alignment can quickly turn into defects, downtime, and scrap. Below is a practical troubleshooting guide that focuses on the issues operators and maintenance teams see most often, with checks you can do on the floor and durable fixes you can implement at the process and equipment level.
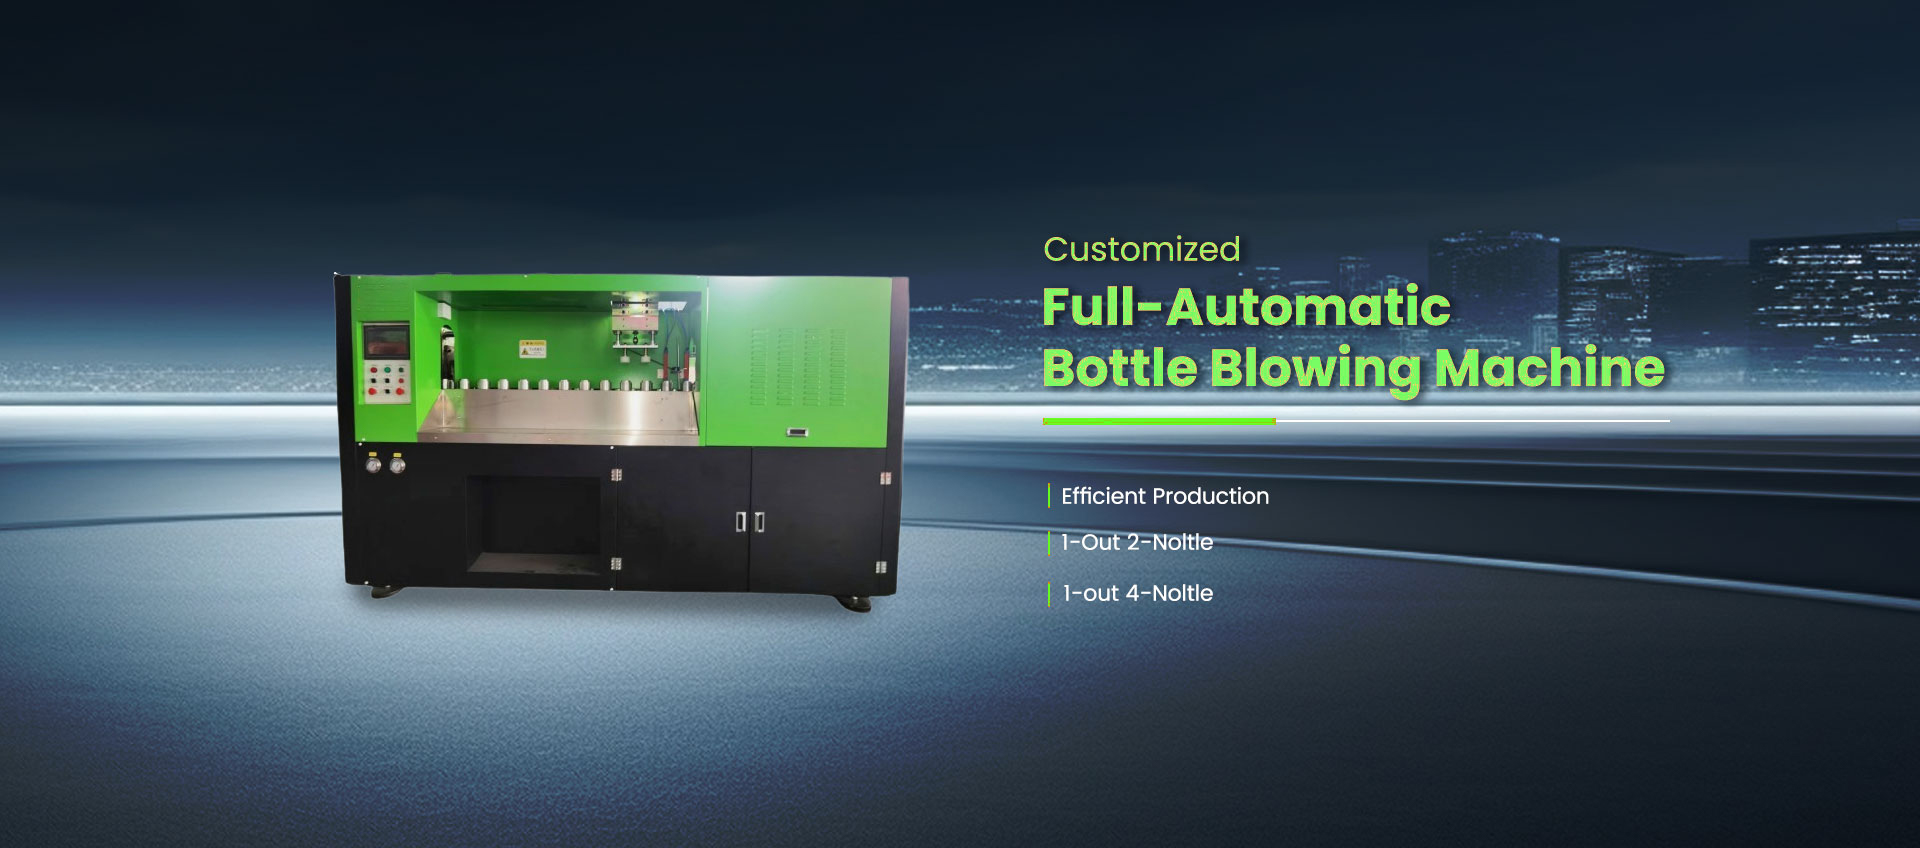
As a manufacturer, BOHANG supports bottle blowing systems along with related automation like Manipulators, molds, and packing equipment, so troubleshooting can be handled as a complete production cell instead of isolated machines.
Most recurring problems trace back to utilities drifting during shifts. Before changing molds or rewriting recipes, confirm these baselines are stable:
Compressed air: pressure, dryness, and flow reserve for peak blow demand
Cooling water: inlet temperature, flow rate, and filtration
Power supply: voltage stability, grounding, heater/servo load spikes
Ambient conditions: airflow around the oven, dust, and temperature swings
If any of the above fluctuate, the same settings can produce different bottles hour to hour.
| Symptom | Most likely causes | Fast checks on the line | Long-term fix |
|---|---|---|---|
| Uneven wall thickness | Heating profile drift, preform centering off, stretch rod timing | Compare heater zone temps, check preform runout, verify rod travel | Re-map oven zones, improve centering guides, tune stretch/blow sequence |
| Bottle haze, whitening | Overheating, moisture, poor cooling, resin variability | Inspect preform dryness, check oven hot spots, confirm mold water flow | Stabilize drying and cooling, add temperature feedback, refine heating curve |
| Neck deformation | Too much heat near neck, handling stress, poor cooling at neck ring | Check neck finish temperature, verify grippers/transfer timing | Protect neck zone in heating, improve neck cooling, adjust transfer mechanics |
| Bottom blowout or weak base | Low pre-blow, base too hot, exhaust/cooling issues | Check pre-blow pressure curve, inspect base vents | Optimize pre-blow, add base cooling/venting, tune blow pin sealing |
| Flashing or parting line issues | Mold alignment, clamp force, mold wear | Check mold close light test, inspect parting surface | Re-align mold, service clamp, refurbish parting surfaces |
| Low output, frequent alarms | Sensor drift, pneumatic leaks, servo timing errors | Leak test air lines, review alarm history | Preventive sensor calibration, upgrade seals, tune servo motions |
| High energy consumption | Oven inefficiency, air losses, oversized compressors | Check air leaks, monitor oven duty cycle | Energy audit, reduce leaks, optimize heating and blowing curves |
What it looks like: one side of the bottle is thin, bottles feel inconsistent by hand, or weight variation fails QC.
Typical root causes
Heating imbalance between zones, or heater aging causing “invisible” hot/cold bands
Preform is not centered when entering the mold, so stretching is asymmetric
Stretch rod timing and pre-blow timing not synchronized to the actual material temperature
Floor checks
Pull 10 bottles across a 15–20 minute window, record weight and thickness points
Mark preforms with a line and observe whether the line stays centered after blowing
Verify heater zone setpoints match actual readings, not only controller display
Durable fixes
Rebuild the heating map: focus on shoulder and base transitions first
Improve preform guidance and centering, especially after maintenance
Adjust pre-blow delay and pre-blow pressure ramp to match preform temperature, not “last week’s” recipe
What it looks like: cloudy appearance, whitening near the shoulder/base, or a “stress haze” after cooling.
Typical root causes
Overheating the preform surface, creating orientation stress
Moisture issues in preforms or material handling
Cooling water temperature too high, or flow restricted by scale/filters
Floor checks
Compare haze rate at shift start vs mid-shift (often points to utilities drift)
Check cooling water inlet temperature and differential across mold
Inspect oven reflectors and airflow for dust buildup or blocked circulation
Durable fixes
Standardize drying and storage conditions for preforms
Increase cooling efficiency: clean filters, stabilize inlet temperature, verify flow
Reduce overheating by smoothing heater transitions instead of cutting all zones equally
What it looks like: oval necks, threads out of tolerance, caps cross-threading, or leaks in torque testing.
Typical root causes
Neck area receiving too much radiant heat
Transfer/handling stress while the neck is still warm
Neck ring cooling insufficient or uneven
Floor checks
Use a go/no-go gauge and track which cavities fail more often
Observe transfer timing: look for micro-delays that cause gripping while hot
Check neck ring cooling passages for blockage
Durable fixes
Shield the neck area during heating and concentrate heat lower on the body
Improve neck cooling and reduce handling shock
If failures are cavity-specific, inspect that cavity’s neck ring wear first
What it looks like: occasional base burst during blowing, weak “petaloid” base, or cracks after filling.
Typical root causes
Pre-blow curve too aggressive or too weak for the current temperature
Base overheated, then stretched too fast
Venting or blow pin sealing issues causing unstable pressure delivery
Floor checks
Review pressure curves and confirm actual pressure response matches the recipe
Inspect base vents and exhaust paths for blockage
Check seals and blow pin alignment for air loss
Durable fixes
Tune pre-blow to “prepare” material before final blow, not to do all shaping
Improve base cooling and venting consistency
Replace worn seals early; small leaks become big defects at scale
What it looks like: excess plastic at the parting line, rough seams, or inconsistent finish.
Typical root causes
Mold misalignment after changeover
Clamp force not reaching target, or mechanical wear
Parting surfaces damaged by debris or improper cleaning tools
Floor checks
Do a simple closure test and inspect contact uniformity
Compare defect rate right after mold change vs later in the day
Inspect mold faces for embedded debris
Durable fixes
Implement a repeatable mold changeover checklist with alignment validation
Service clamp mechanisms and verify force calibration
Use cleaning methods that protect parting surfaces
A strong PM routine is less about doing “more work” and more about doing the right checks at the right frequency:
Daily: air leak walkdown, water filter inspection, oven lens/reflector wipe
Weekly: sensor calibration spot-check, heating zone verification, mold water flow confirmation
Monthly: full pressure curve validation, pneumatic seal review, oven airflow deep clean
Quarterly: mold alignment audit, clamp system inspection, electrical grounding review
If you’re fighting the same defect after multiple recipe changes, it’s usually time to look at the system design: heating stability, control logic, mold compatibility, and how automation handles preforms and bottles. BOHANG’s bottle blowing equipment is positioned as a modular solution with intelligent control and customization support, and the product range includes Bottle Blowing Machines plus supporting items like molds and manipulators for more consistent loading/unloading.
For energy-sensitive operations, BOHANG also describes energy-saving design approaches such as servo drive and energy-saving technology claims on certain models, which can be relevant when air and heating costs dominate your per-bottle expense.
Most bottle blowing “mystery problems” become straightforward once you separate utility drift from process settings and mechanical alignment. Start with stable air/water/power, confirm heating reality versus controller numbers, then tune timing and pressure curves. If defects remain cavity-specific or return right after changeovers, focus on mold condition and alignment before chasing the recipe.